 Save to Pinterest
 One Tuesday evening, I was staring into the fridge with no plan and very little time. I had chicken breasts, a jar of pesto someone gave me, and a hunch that panko and Parmesan could save dinner. What came out of that skillet was so golden and satisfying that my kids asked for it again two days later. Sometimes the best recipes are born from winging it with confidence.
I made this for a small dinner party once, plating each cutlet with a swirl of pesto and a handful of arugula on the side. My friend Anna, who usually prefers fish, went back for seconds. She said the Parmesan crust reminded her of something her nonna used to make, which felt like the highest compliment I could get.
Ingredients
- Boneless, skinless chicken breasts: Pounding them to even thickness is the secret to cooking them through without drying out the edges.
- Panko breadcrumbs: Their airy texture creates that audible crunch you want in every bite, far better than regular breadcrumbs.
- Parmesan cheese: Freshly grated works best since it clings to the panko and turns deeply golden as it fries.
- Eggs and milk: This simple wash helps the breading stick and stay put even when you flip the cutlets.
- Basil pesto: Whether homemade or from a jar, pesto brings herby richness that makes the dish feel intentional and vibrant.
- Olive oil: Use enough to coat the bottom of the skillet generously so the breading fries instead of steams.
Tired of Takeout? 🥡
Get 10 meals you can make faster than delivery arrives. Seriously.
One email. No spam. Unsubscribe anytime.
Instructions
- Prep the chicken:
- Place each breast between two sheets of plastic wrap and pound gently with a meat mallet until about half an inch thick. Season both sides with salt and pepper, then set aside while you get the breading ready.
- Set up your breading station:
- Line up three shallow bowls: one with flour, one with beaten eggs and milk whisked together, and one with panko mixed with Parmesan and optional Italian herbs. This assembly line makes coating each piece quick and tidy.
- Coat the cutlets:
- Dredge each chicken piece in flour, shaking off any excess, then dip it into the egg mixture and let the extra drip off. Press it firmly into the panko mixture on both sides so the crumbs really adhere.
- Heat the oil:
- Pour olive oil into a large skillet and warm it over medium-high heat until it shimmers but does not smoke. You want it hot enough that the breading sizzles on contact.
- Fry until golden:
- Add the cutlets in batches, making sure not to crowd the pan, and cook for 3 to 4 minutes per side until deeply golden and cooked through. Transfer them to a paper towel-lined plate to drain briefly.
- Finish with pesto:
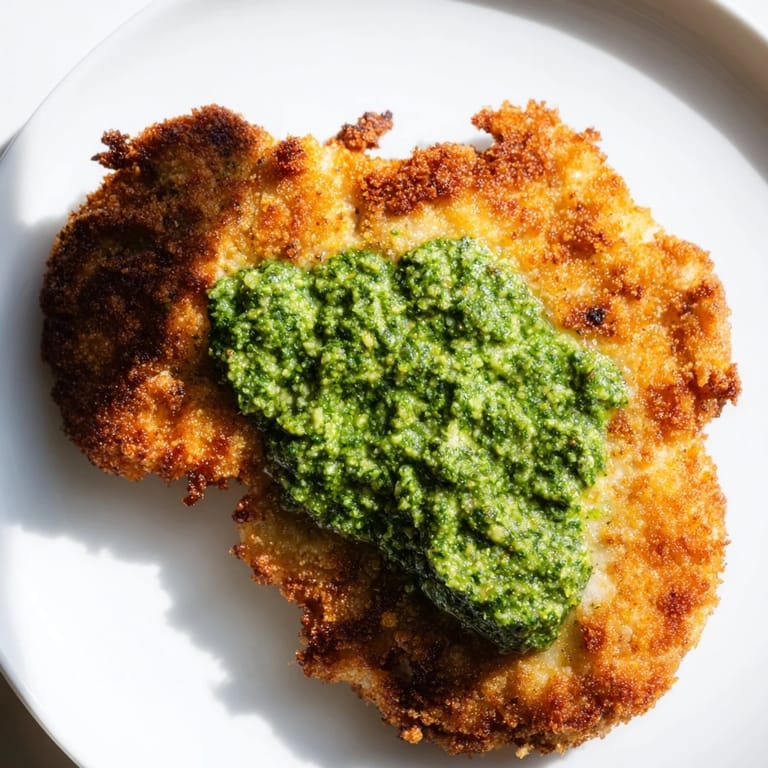
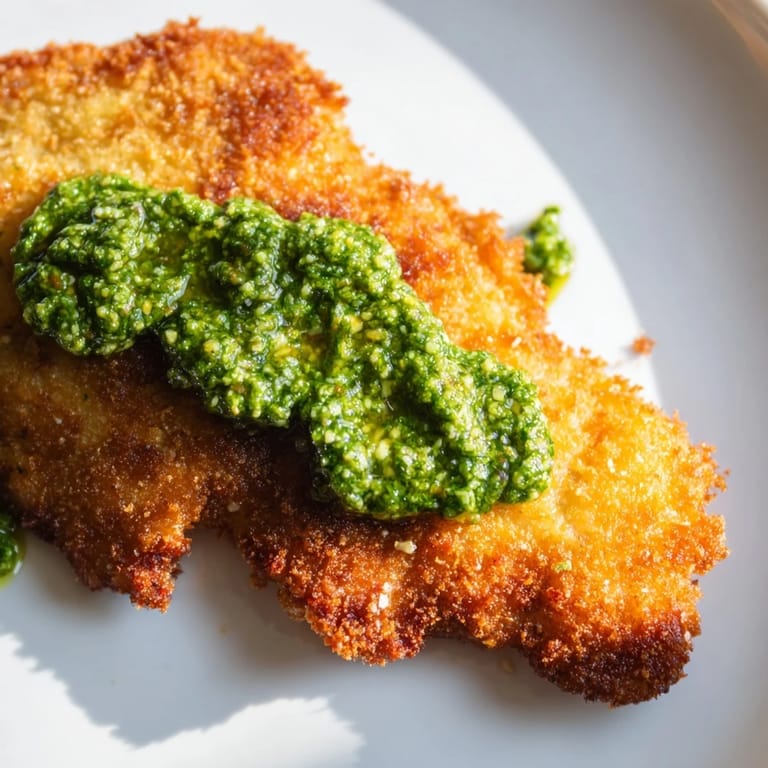
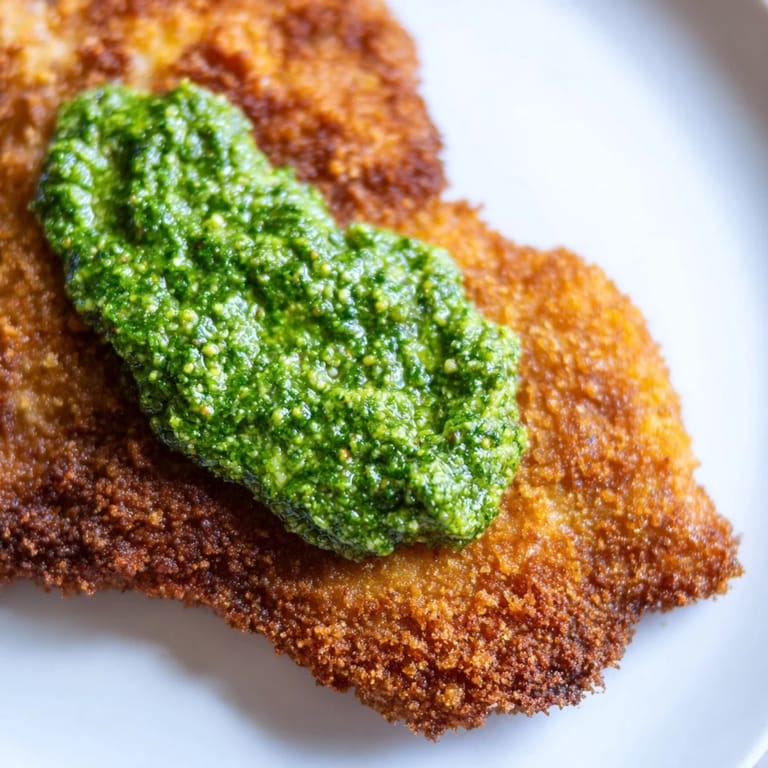
- Arrange the crispy cutlets on a platter and top each one with a generous spoonful of pesto. Garnish with fresh basil leaves and serve with lemon wedges if you like a little brightness.
 Save to Pinterest
 The first time I served this, my husband took one bite and said it tasted like vacation. I laughed, but I knew what he meant. The basil, the crunch, the way the lemon cut through the richness, it all felt a little indulgent, a little special, even on a regular weeknight.
How to Store and Reheat
Leftovers keep well in an airtight container in the fridge for up to three days. To bring back the crispiness, reheat them in a 375-degree oven for about 10 minutes instead of using the microwave. The breading will crisp up again, and the chicken stays tender inside.
What to Serve Alongside
I usually pair these cutlets with a simple arugula salad dressed in lemon and olive oil, or sometimes just buttered pasta if I want something comforting. Roasted cherry tomatoes or sautéed green beans also work beautifully. Keep the sides light so the crispy chicken stays the star.
Make It Your Own
You can swap the pesto for marinara if you want something more classic, or use sun-dried tomato pesto for a sweeter, tangier finish. Turkey cutlets work just as well if you prefer lighter meat. For a gluten-free version, use almond flour and gluten-free panko, and the results are still wonderfully crisp.
- Add a pinch of red pepper flakes to the breadcrumb mixture if you like a little heat.
- Try topping with a squeeze of fresh lemon right before serving for extra brightness.
- Double the batch and freeze the breaded raw cutlets on a tray, then transfer to a bag for quick future dinners.
 Save to Pinterest
 This dish has become one of those reliable favorites that I turn to when I want something satisfying without spending all evening in the kitchen. I hope it brings the same easy joy to your table.
Recipe Questions
- → How do I keep the chicken cutlets crispy?
Use panko breadcrumbs instead of regular breadcrumbs for extra crunch. Ensure the oil is hot before frying, and don't overcrowd the skillet. For maximum crispiness, let coated cutlets rest in the refrigerator for 15 minutes before frying.
- → Can I prepare this ahead of time?
Yes. Bread the cutlets up to 4 hours ahead and refrigerate on a lined tray. Fry just before serving for best results. You can also cook them earlier and reheat in a 350°F oven for 5-8 minutes to restore crispiness.
- → What can I substitute for pesto?
Try sun-dried tomato sauce, chimichurri, or a simple lemon butter sauce. You can also make homemade pesto with fresh basil, garlic, pine nuts, Parmesan, and olive oil blended together.
- → Is there a gluten-free version?
Absolutely. Replace all-purpose flour with a gluten-free flour blend and use gluten-free panko breadcrumbs. The cooking method and timing remain the same.
- → What side dishes pair well with this?
Serve alongside a fresh arugula salad, roasted vegetables, risotto, or a light pasta primavera. A crisp white wine like Pinot Grigio or Sauvignon Blanc complements the dish beautifully.
- → How thick should I pound the chicken?
Pound the chicken breasts to approximately 1/2-inch thickness. This ensures even cooking and helps them cook through quickly while maintaining a tender interior.